Showing posts with label warhammer. Show all posts
Monday, July 9, 2012
Hammer of the Gods
Some projects take longer than others. This is one of those. Back at the beginning of March I sat down at the drawing table and in about 2 hours I had gone from online photos to drafting, cutting and assembly. Not a bad start. This is that start. The problem is the project has been sitting in the paint booth collecting dust for the past 2 months. Well it is time to pull it out and get it back on track. So lets bring you back up to speed and show you the project as it stand now.
Next time you see this project it will be out of the paint and another step closer to completion. Stay tuned.
Monday, March 12, 2012
Laser cut Bolt pistol ready for use
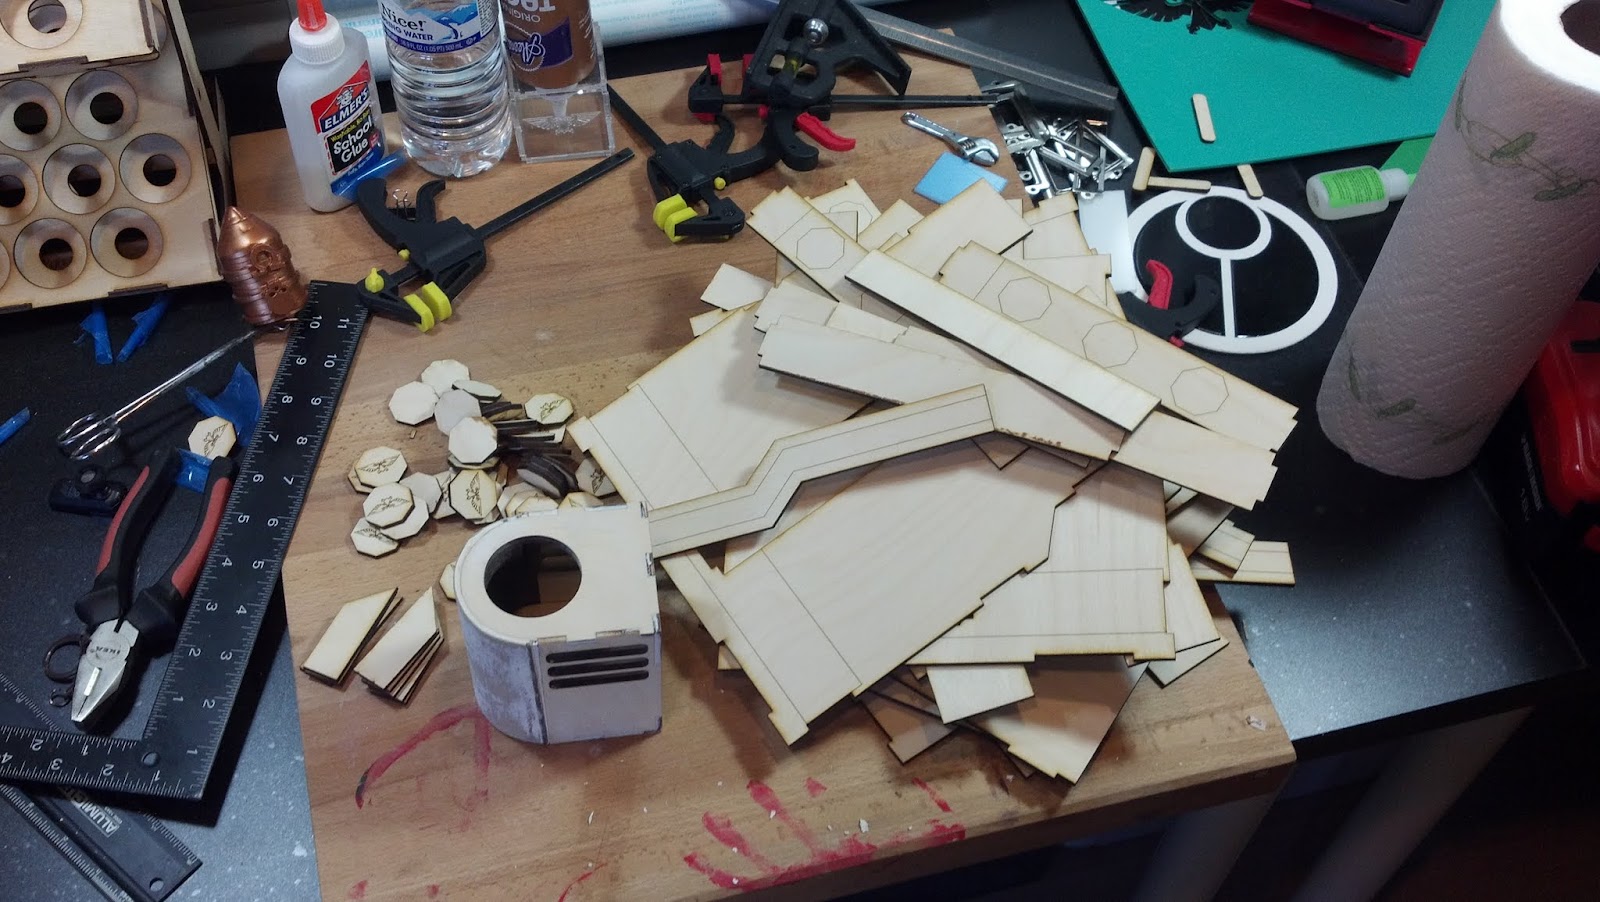
After several tweaks and changes and 5 test builds the plans are now complete. This has been a learning experience in materials quality, materials thickness, power setting and how the laser focus effects cutting width. It is funny how many little factors really go into the design.
Lets go over the different builds and the problems and pitfalls that got us to the final version. First up the materials shift from cardboard to acrylic. The original idea was to build the main body out of 1/8th inch thick hardboard. The same stuff you base terrain on. Turns out there is too much resin holding it together to even begin cutting with a 40 watt laser. After checking the Full Spectrum Engineering forum, it was confirmed that the stuff doesn't cut without burning. Those plans dashed I went back to the hardware store and picked up some 1/8th inch plywood. Same issue, too much glue. The stuff engraves beautifully but the glue between the layers is too tough to cut. Back to the forum where I found a suggestion of going to Woodcraft and picking up plywood there. Quick trip to Amazon and the web, wood was on its way.
While waiting I switch to the one material I knew would cut cleanly, acrylic. My local hardware store has it in several thicknesses and I was able to pick it up for a reasonable price. A couple of hours later and a few miss cuts I was done and got this.
This is the first version and it was a great proof of concept. The thing looks good and will take paint with no really prep work required. The handle is not attached yet but it is a simple matter of epoxy and time. The downsides to this one is first cost. Acrylic is not cheap and would be great to use if I were using it as a casting base but I am not. Next is fragility, acrylic is not the most durable material and had a habit of fracturing if dropped. I can correct this by filling the thing with 5lb expanding foam but really this is more of a display piece. The last issue is weight. It is heavy. Noticeably so and adding anything to stiffen it will put more stress on the hand grip mount.
The wood arrived and cutting began. This stuff cuts as well as the acrylic and at lower power. I am using 25-35% speed and 40-50% power with little to no charring. I have found my new material of choice. The design didn't require any real changes from the transition to wood. There were a couple of shims I added to reinforce some of the joints but that was it.
But I did do some changes with the build. Lets start with the barrel. The original plan for the build was to just use a piece of PVC pipe but I found that a pair of couplers and some wooden rings to beef it out fit the bill nicely. Next up was the magazine change. The square magazine on the acrylic version was out of necessity. Bending acrylic is not easy and not something I didn't want to deal with that. Wood is easier to bend but again why bother when a straight magazine looks good. That is what I went to. But why not take it up a level if I am going that way and make the design one that will allow it to be removable. So that is what I did. a couple of quick changes and 3 sets of magazine miss cuts and I ended up with a simple workable magazine that can be magnetized and removed. The alignment worked great but I hit one snag, one of the spacers needed in the gun body was a little off and I couldn't slide the last one in. Mental note, add the shims and spacers before you close up the gun body. Since I wanted to get this one done, I just fixed mounted this one.
The next change was the handle. I was going to cast this piece out of resin but just wasn't feeling it. I needed a better option then it hit me, why not just laminate several pieces together. About an hour at the drawing board and I had a piece ready to cut. A little glue, some quarter round and putty and the handle was done. Laminating pieces together gave me a little more freedom and I was able to come up with 4 different options using the same pieces. Kind of nice. This one is an inset with a diamond pattern. I also have a raised flat, raised stripped, inset stripped and smooth side design. The smooth designs are perfect for some custom work like engraved chapter symbols or inscriptions.
The last little bits were the knobs and switches that I also laminated to get the correct thickness and a little filler putty to clean up some of the angled joints. That is it. Ready for the paint booth. Well almost. There were a few things I learned in the construction. First, Aleene's Original Tacky Glue is the best glue ever made for craft projects like this. It doesn't run and gives you plenty of wiggle room for alignment. Clamps, 4 and 6 inch bar clamps are a necessity. The more you have the easier things will be. Spring clamps help and having different sizes on hand is always good but the bar clamps really shine for not shifting the alignment of parts as you apply pressure. Sand all the parts first. This just common sense but it is easy to forget when you get into the heat of building. Lastly don't throw away any scraps. They come in handy. Anyway, enough talk more pictures.
![]() |
| I know it is a Bolter and not a Bolt Pistol, but it is a cool picture. |
Lets go over the different builds and the problems and pitfalls that got us to the final version. First up the materials shift from cardboard to acrylic. The original idea was to build the main body out of 1/8th inch thick hardboard. The same stuff you base terrain on. Turns out there is too much resin holding it together to even begin cutting with a 40 watt laser. After checking the Full Spectrum Engineering forum, it was confirmed that the stuff doesn't cut without burning. Those plans dashed I went back to the hardware store and picked up some 1/8th inch plywood. Same issue, too much glue. The stuff engraves beautifully but the glue between the layers is too tough to cut. Back to the forum where I found a suggestion of going to Woodcraft and picking up plywood there. Quick trip to Amazon and the web, wood was on its way.
While waiting I switch to the one material I knew would cut cleanly, acrylic. My local hardware store has it in several thicknesses and I was able to pick it up for a reasonable price. A couple of hours later and a few miss cuts I was done and got this.
| Shown upside down because the handle is not attached. |
This is the first version and it was a great proof of concept. The thing looks good and will take paint with no really prep work required. The handle is not attached yet but it is a simple matter of epoxy and time. The downsides to this one is first cost. Acrylic is not cheap and would be great to use if I were using it as a casting base but I am not. Next is fragility, acrylic is not the most durable material and had a habit of fracturing if dropped. I can correct this by filling the thing with 5lb expanding foam but really this is more of a display piece. The last issue is weight. It is heavy. Noticeably so and adding anything to stiffen it will put more stress on the hand grip mount.
The wood arrived and cutting began. This stuff cuts as well as the acrylic and at lower power. I am using 25-35% speed and 40-50% power with little to no charring. I have found my new material of choice. The design didn't require any real changes from the transition to wood. There were a couple of shims I added to reinforce some of the joints but that was it.
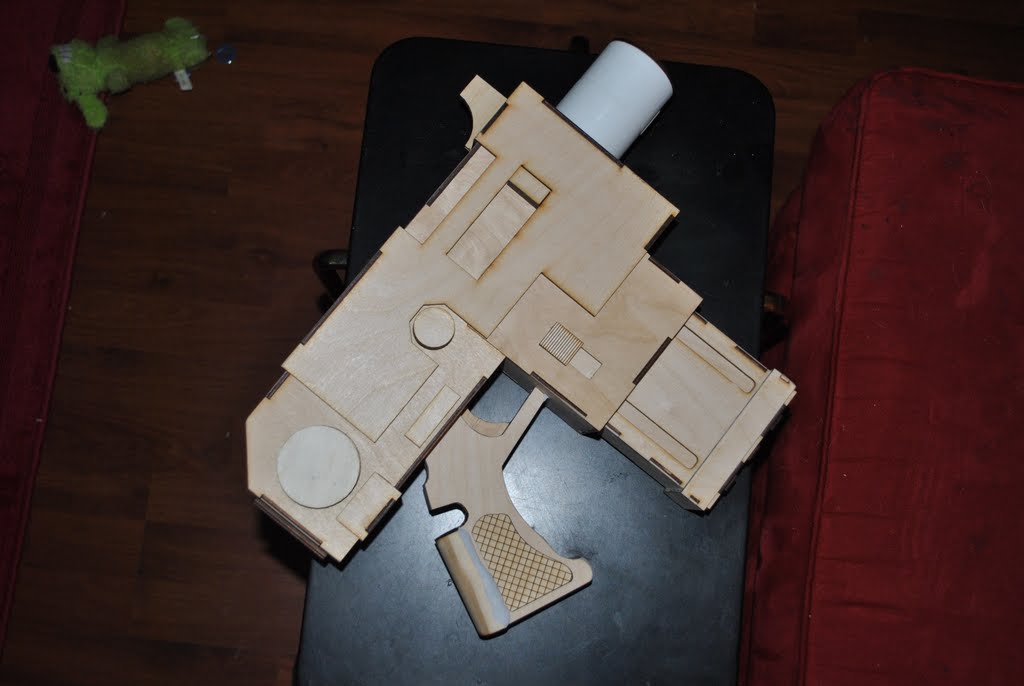
| Bolt Pistol v2 ready for primer and paint. |
But I did do some changes with the build. Lets start with the barrel. The original plan for the build was to just use a piece of PVC pipe but I found that a pair of couplers and some wooden rings to beef it out fit the bill nicely. Next up was the magazine change. The square magazine on the acrylic version was out of necessity. Bending acrylic is not easy and not something I didn't want to deal with that. Wood is easier to bend but again why bother when a straight magazine looks good. That is what I went to. But why not take it up a level if I am going that way and make the design one that will allow it to be removable. So that is what I did. a couple of quick changes and 3 sets of magazine miss cuts and I ended up with a simple workable magazine that can be magnetized and removed. The alignment worked great but I hit one snag, one of the spacers needed in the gun body was a little off and I couldn't slide the last one in. Mental note, add the shims and spacers before you close up the gun body. Since I wanted to get this one done, I just fixed mounted this one.
| Removable magazine and grip design. |
The last little bits were the knobs and switches that I also laminated to get the correct thickness and a little filler putty to clean up some of the angled joints. That is it. Ready for the paint booth. Well almost. There were a few things I learned in the construction. First, Aleene's Original Tacky Glue is the best glue ever made for craft projects like this. It doesn't run and gives you plenty of wiggle room for alignment. Clamps, 4 and 6 inch bar clamps are a necessity. The more you have the easier things will be. Spring clamps help and having different sizes on hand is always good but the bar clamps really shine for not shifting the alignment of parts as you apply pressure. Sand all the parts first. This just common sense but it is easy to forget when you get into the heat of building. Lastly don't throw away any scraps. They come in handy. Anyway, enough talk more pictures.
Monday, December 27, 2010
Appleseed XV8 Battle Suit Final Design...hopefully.
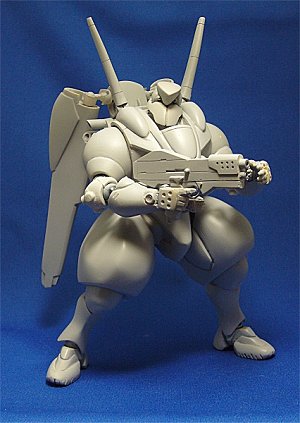
This is the design I can never seem to leave alone. Last time around I showed you a prototype of the suit and things were looking good. All I had to do was make a mold for the back and I was done. Well I got the mold done and started casting parts and it just didn't feel right. So out came the knives, saws and greenstuff. Here are the results. I lengthened the torso and used an XV9 pelvis since it was faster then reworking my scratch built one. The missile stalk was added because it fit better there than on the arms. I am going to stick with them only being on one side though. It looked too much like the Broadside with it on both. The one in the picture is glued on but the final will be magnetized. I have a 3rd one that I am working on cleaning up fully to make new molds for I can get the 18 suits I need finished with minimal cleanup needed on each one. The current molds I have been using have been pretty rough and the venting on them isn't the best so I get allot of bubbles. I may use that time to make some additional changes to the lower leg and foot. The XV9 ones look really good and I do still have a few of those laying around.
Subscribe to:
Posts (Atom)